
How To Make Your Own Embroidery Pattern (Even if you can’t Draw!)
If you love crafting, you’ll love this tutorial showing you how to make your own embroidery designs
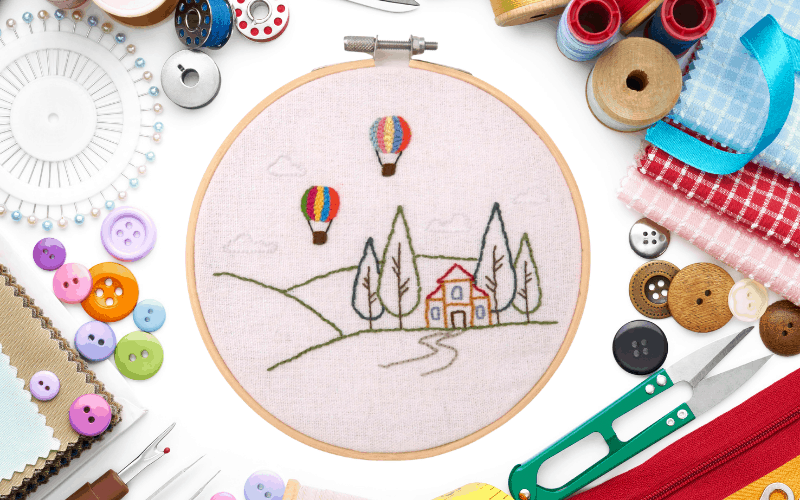
Embroidery is a hobby I picked up again this year during the first lockdown, I ordered myself a House Plant Embroidery Kit from Amazon and spent a good few weeks working on it – I found it really relaxing as it was a good excuse to be away from the computer or to not be scrolling on Insta/Facebook/TikTok on my phone. I’ve looked around for some other kits since then but I’ve struggled to find a pattern I liked so I thought there must be a way to make your own embroidery design.
I thought about trying to draw a design myself but my drawing skills aren’t great so I wondered if there would maybe be a way to create an embroidery design on the computer and then print it on to the fabric as that’s how the kits from Amazon had been done.
Well…I’ve worked it out! It’s not the exact same method that the original kit I tried used but in my opinion, it’s even better! So, here is a full tutorial showing you how to design your own embroidery pattern, put it on to printable embroidery transfer paper and remove it afterwards so that all you are left with is the fabric and your stitched design.
How to design and create your own embroidery patterns
Here’s what you’ll need
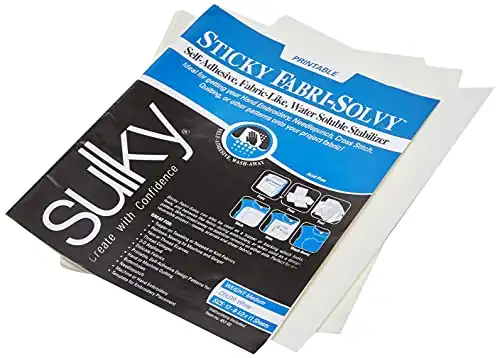
- Printable Embroidery Transfer Printer Paper
- Printer
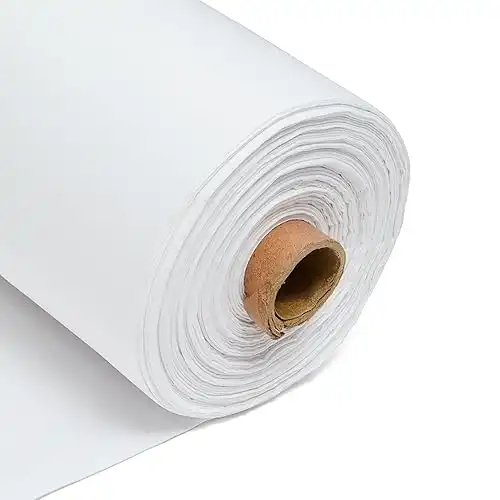
- Fabric
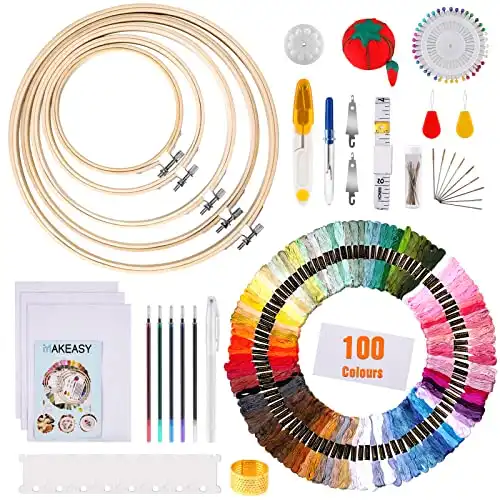
- Embroidery Kit – I bought this Embroidery Starter Kit from Amazon
- Embroidery Hoop
- Embroidery Scissors
- Embroidery Floss
- Needles and Threader
|

|
|
|
|
£20.00
|
|
£7.29
|
£22.49
|

Create your custom embroidery design (even if you can’t draw)
As I’ve already stated, I am not a gifted artist, I’m not really even a good doodler so I knew that I’d have to find a different way to come up with a design for my embroidery – that’s where DesignBundles steps in and saves the day. DesignBundles.net is one of the internet’s largest online market places for digital designers to sell their items – people sell all sorts on there from fonts to stock photos, SVG files to fancy CV templates but we’re using it today to find some graphics that we might be able to turn into embroidery.

I typed Line Drawing into the search bar as I felt that would be the easiest to work with, just something with some nice thin outlines that I can stitch around, that came back with over 4.5k results so I added ‘landscape’ on to the end of the search and that came back with a smaller set of results to look through. I wasn’t sure exactly what I was looking for but these Nature Landscape Outline Icons caught my eye and I decided I could adapt some of the design to suit what I wanted.
Download your image/font/design elements
Once you have found the image/font/design elements on DesignBundles.net, add them to cart, click purchase and then you are ready to download them to your computer.
Login or Create an account on Canva
Visit the Canva website and log in if you have an existing account or create a FREE account.
Create a blank A4 document in Canva
Open up Canva and search for A4 Document in the search bar at the top of the page and then select the ‘blank’ option.

Set your design area
On the left-hand toolbar of the Canva, there is a button that’s called ‘Elements’ if we click that we have the option to add a shape. Add a circle to your page and adjust the size to be the same diameter of your embroidery hoop
Upload design to Canva
On the left-hand toolbar, you will see the ‘Uploads’ option. Click here and upload your design image or components, once uploaded click on them and they will be placed on to your document ready to be adjusted.

Resizing to fit your design area and hoop
If you are using your uploaded design ‘as is’ then all you need to do is resize it to fit your hoop area. I decided to change mine up a bit and add and extra cloud and hot air balloon (I did this by adding the same image to the document again and cropping out everything I didn’t want)

Change the opacity of your design
Once you are happy with your design you are going to want to change the overall opacity of it before you send it to print, this is just to make sure we don’t get any ink bleed or transfer on to the actual embroidery material – we shouldn’t do anyway but this is just a good step to take as a precaution. To change the opacity, go to the menu at the top of your document and selected the transparency tool and slid it down to around 30.
Delete your sizing circle
The last thing we need to do before sending it to print is to delete our sizing circle, to do that you just click on the circle and click the little dustbin in the top toolbar.
Exporting your printable embroidery design
You will want to export your finished design as a PDF for print. To do this go to the top right corner of the screen and you’ll find the download arrow, click that and select PDF Print, then click the blue Download button and the print will be saved to your computer.

How to use embroidery transfer printer paper
The brand of Embroidery Transfer Printer Paper that I use is called Sulky Sticky Fabri-Solvy and is actually a fabric stabilizer that you just so happen to be able to print on to. You can buy similar from haberdashers and online fabric stores but I order mine direct from Amazon.
Printing on embroidery transfer paper
Place the sheet of printable embroidery transfer paper into your printer so that the design will print on the fabric side, not the release paper side. Find the design that you just downloaded as a PDF and send it to the printer.

Cut out your design
Use your hoop to draw a guideline around your design and then cut it out, I trimmed mine a bit smaller so that it didn’t overlap the edges of the hoop.
Set your fabric in your hoop and apply your transfer print
Place your fabric into your hoop and tighten it, make sure the fabric is at a good tension as you don’t want the transfer print to wrinkle. Peel the release paper away from the back of your design, the transfer fabric feels similar to a plaster which makes it very easy to place and smooth on to the fabric in the hoop. Make sure you don’t have any wrinkles or bumps, if you do, just gently peel back the transfer fabric and smooth it out.
Start Stitching!
I decided to do my whole project in a simple back stitch (though I do wonder if I missed a trick not using satin stitch for the hot air balloons!) If you’re completly new to embroidery this is a fab blog post detailing 15 embroidery stitches to get your started.

Admire your handy work
This took me a couple of days to complete (a few hours each evening) mainly because I forgot how slow I am at hand stitching when I’ve not done it for a while. I’m really pleased with how neat it looks though even if some of the ‘straight’ lines are a bit wobbly 🙈

Removing the printable embroidery paper
You need to try and remove as much of the excess printable embroidery paper as possible. It peels off the fabric fairly easily and then you can just get into the edges and corners with a small pair of embroidery scissors. Once you have removed as much as you can it’s time to dunk it in the sink!
Using hand-hot water, you want to submerge your fabric and give it a few minutes to soak, you’ll see the remaining embroidery paper dissolve and all your left with is your beautiful embroidery and your fabric.

Drying your embroidery
Wring your fabric out as much as possible without damaging or warping the fabric and then leave it over a radiator or somewhere sunny to dry (I’m doing this in winter so the radiators are the only warm part of the house)
Finishing your embroidery hoop project
Set your fabric back into the hoop
I do this when its still a tiny bit damp, not soggy but not bone dry as I feel like it shrinks to fit on the hoop even nice once it’s done

Hiding the edges
This is one of the most satisfying parts of the process – once you’re fabric is set back in the hoop you want to trim the excess fabric off and leave yourself a bit of a ‘seam’ allowance around the hoop (I do about 1.5cm). Put a running stitch around the whole outside of the hoop, making sure there is a strong knot at the starting point, once you have stitched the whole of the hoop you simply pull on the thread to gather the fabric up and then it’ll sit nice and tidy on inside your hoop!
Some people also like to add a felt back to their hoop to hide all the messy stitching, I did consider this but I don’t have any felt to hand. If I was making these to sell then I definitely would back it with either card or felt.