
How to make holographic stickers
If you love crafting, all things shiny, and are a bit obsessed with stickers, you’ll love this holographic stickers tutorial
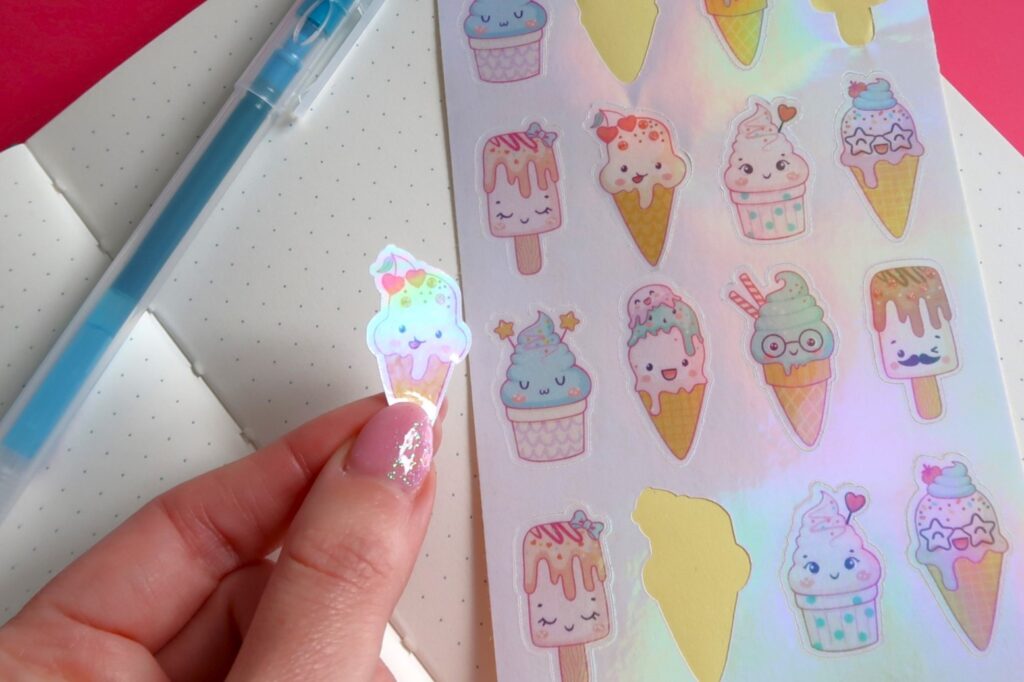
Remember those days of plastering every available surface with stickers? From sparkly unicorns to colourful cartoon characters, stickers were a big part of childhood for many of us. If you’re anything like me, that love of stickers has followed you into adulthood!
Maybe you’ve embraced the planner craze and find yourself needing the perfect sticker to customise your weekly spread. Or perhaps you want to add a touch of personality to your laptop or water bottle. Whatever the reason, stickers are back in a big way and the good news is that they are super simple to make yourself!
If you’re a Cricut crafter, like myself, then you’ve got a fantastic tool at your fingertips that unlocks a treasure trove of creative possibilities. Imagine crafting custom stickers that perfectly reflect your unique style, a favourite inside joke with a friend, or a motivational quote to keep you going throughout the day. And the best part? Making your own stickers is surprisingly cost-effective so you don’t have to feel guilty about feeding your sticker obsession!
We’re not just talking plain stickers either – you can make holographic, transparent, waterproof, and even glow in the dark stickers in just a few steps!
Holographic stickers always had my heart as a kid so that’s what we’re going to be making today. Sound good? Then buckle up, because this guide is here to take Cricut crafters of all experience levels on a journey into the wonderful world of sticker making!
DIY Holographic Stickers on a Cricut
Create your own stunning sparkly stickers with this super simple tutorial.
Supplies needed
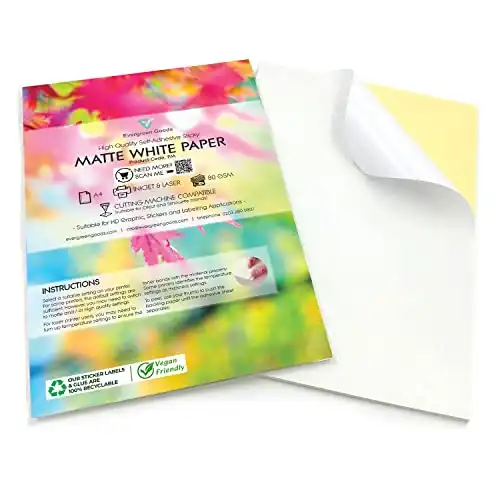
- Matte white sticker paper
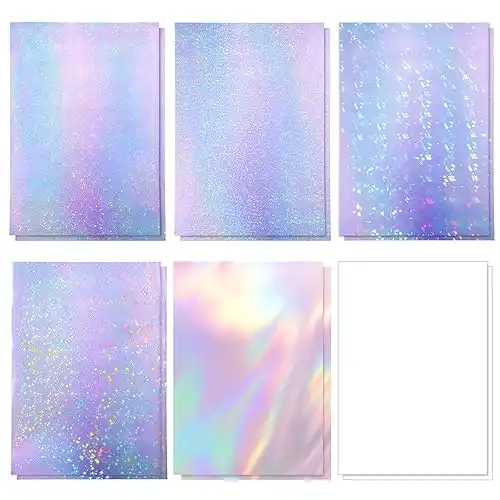
- Holographic sticker paper vinyl sheets
- Inkjet printer
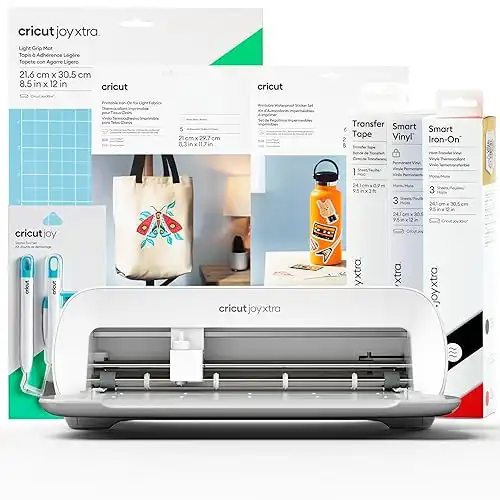
- Cricut machine – I’m using the Cricut Joy Xtra
- Sticker design file – I’m using this cute Ice Cream Cartoon Character Sticker file from Design Bundles, but you can also have a go at making your own
- Scissors of paper trimmer
- Cricut Joy Xtra Light Grip cutting mat
- Squeegee
|
|

|
|
|
N/A
|
£6,291,258,100.00
|
|
N/A
|

How does holographic sticker paper work?
Making holographic stickers requires two separate layers of material. You have the base sticker layer, which you print onto with your standard inkjet printer, and then you have the holographic vinyl laminate layer that you apply over the top. Once the layers are stuck together you can then cut your designs – it’s as simple as that!
How to make holographic stickers on a Cricut
STEP 1 – Design Your Stickers
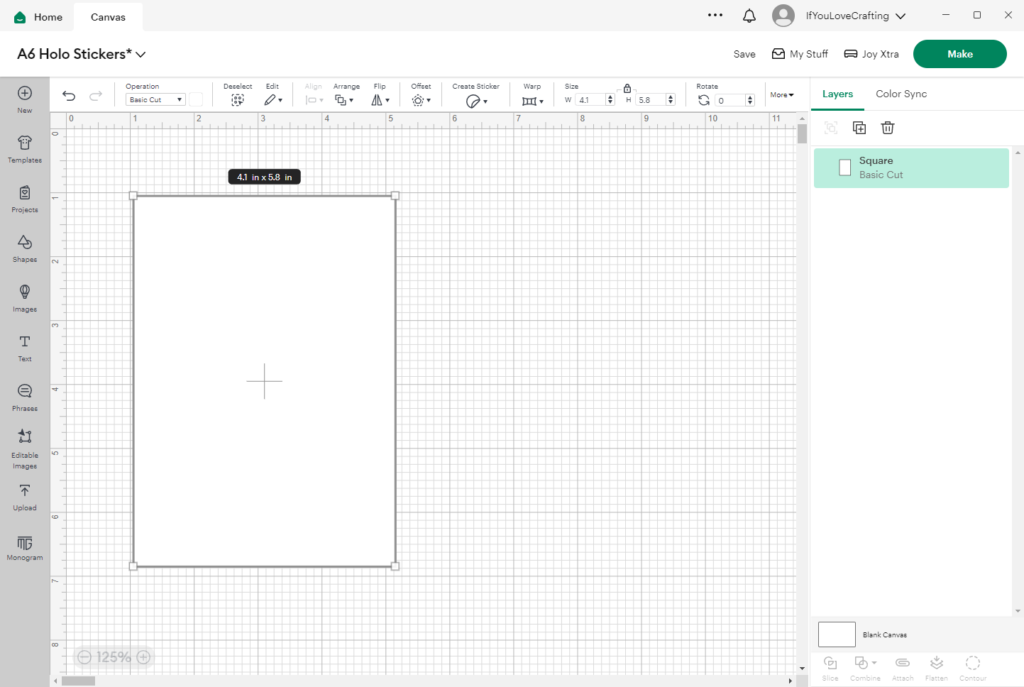
Open Cricut Design Space and load a new canvas.
If I’m creating a project with a set size I always like to add a template shape to the canvas so I know how to size and place my design. With this project I’m making little A6 sized sticker sheets so I’ve added a rectangle shape to fit those dimensions (4.1in x 5.8in)
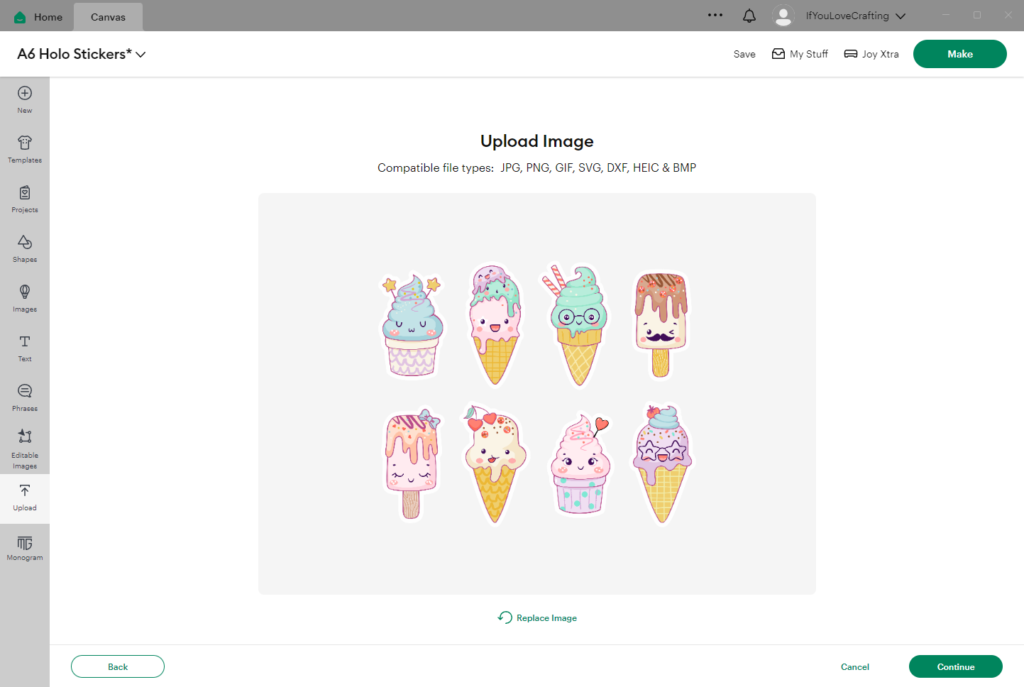
Upload a ready made sticker design or create your own stickers from scratch
I found the most adorable Ice Cream Cartoon Character sticker file on Design Bundles that I wanted to use for this project so I can just upload that straight into Cricut Design Space.
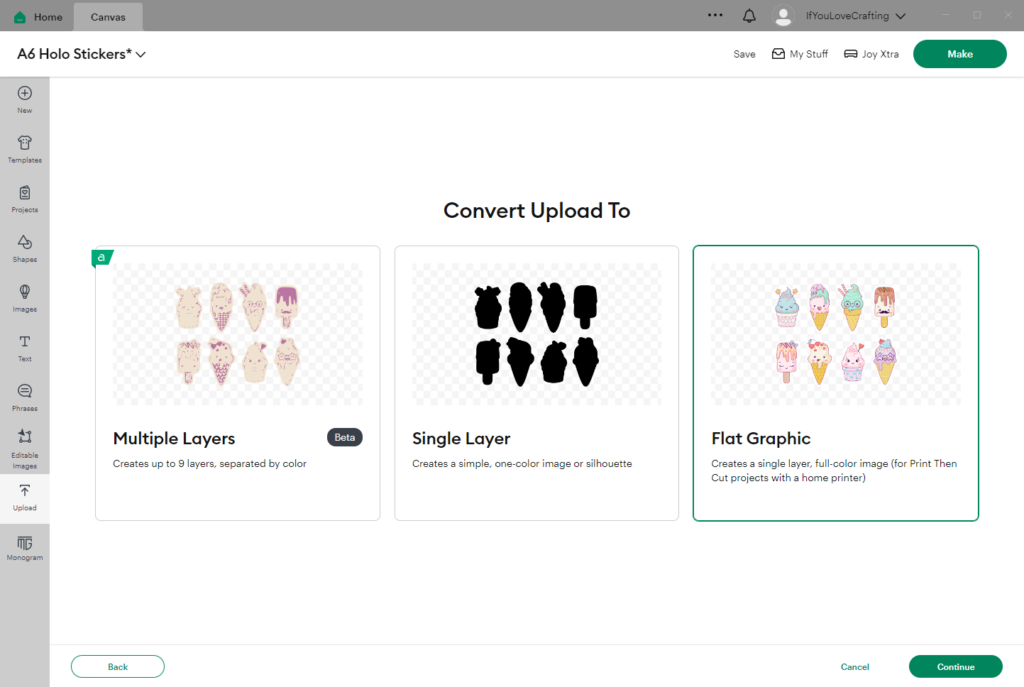
Make sure any image you upload is converted to a Flat Graphic.
This makes sure that the images/files you upload are treated as a single layer, full colour image so that you can use the Print Then Cut function.
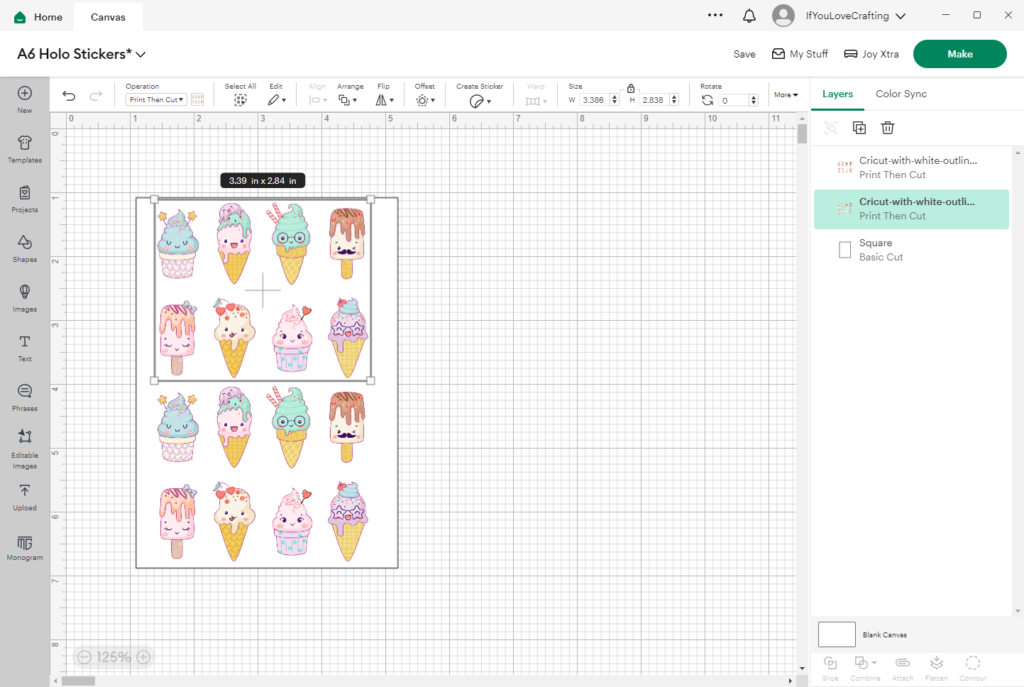
Add your image to your canvas and adjust the size so that it fits within your template.
I’ve got enough space to add two copies of my design to my template, so I’ve sized and aligned them to fit as best possible.
The file I’m using already comes with a white sticker border on the individual images so I don’t need to do anything more to prepare them. If your image doesn’t, you’ll need to use the Create Sticker function.
Once they are aligned I can highlight both versions of the image in the layers menu and Attach them so that they are treated as one whole image when it comes to the Print Then Cut process. The last step before printing is to remove the sizing template rectangle.
STEP 2 – Print Your Stickers
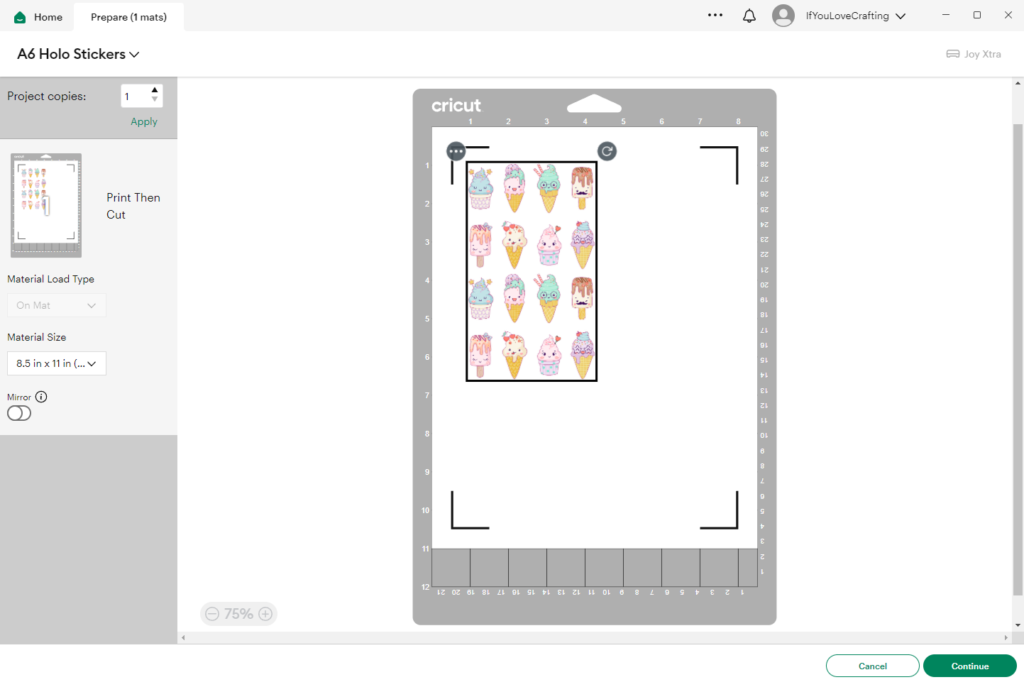
Once you hit the Make button on your canvas screen you’ll be taken to the Print Then Cut screen.
This will show you how to align your sticker paper on your cutting mat once it has been printed. If you’re happy with the orientation and layout you can click the Continue button.
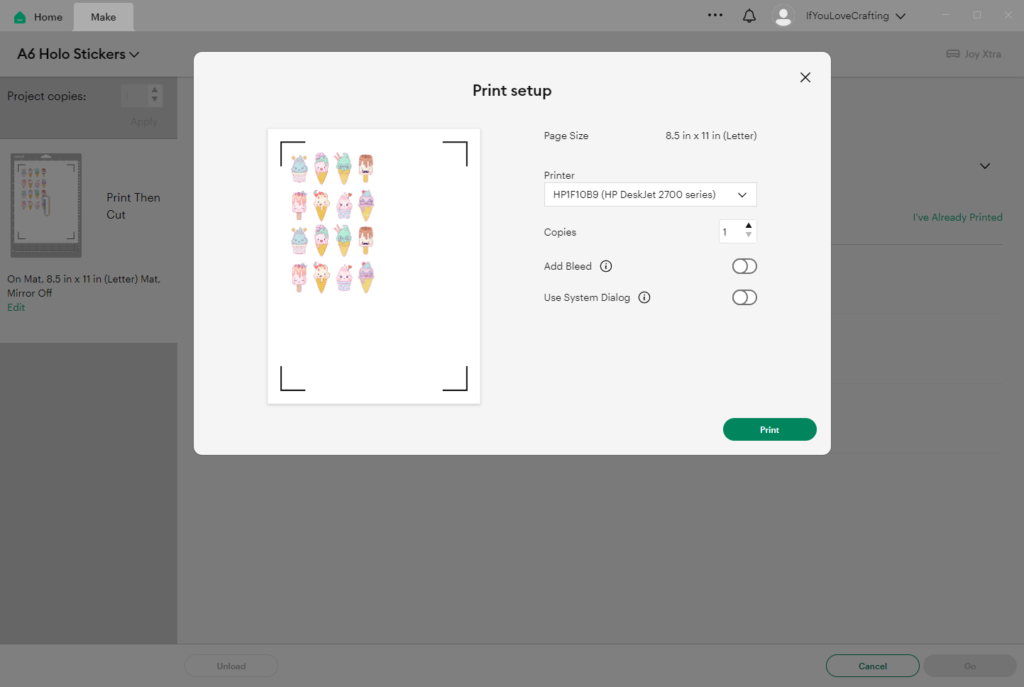
Send to Printer
Click on the Send to Printer button, confirm the settings are correct. (I always make sure that ‘Add Bleed’ is turned off when printing as I’m already working with a white border on the design) and print your design on to your matte white sticker paper.
STEP 3 – Adding the Holographic Overlay
Once our sticker design is printed we can laminate it with the holographic overlay sheet.
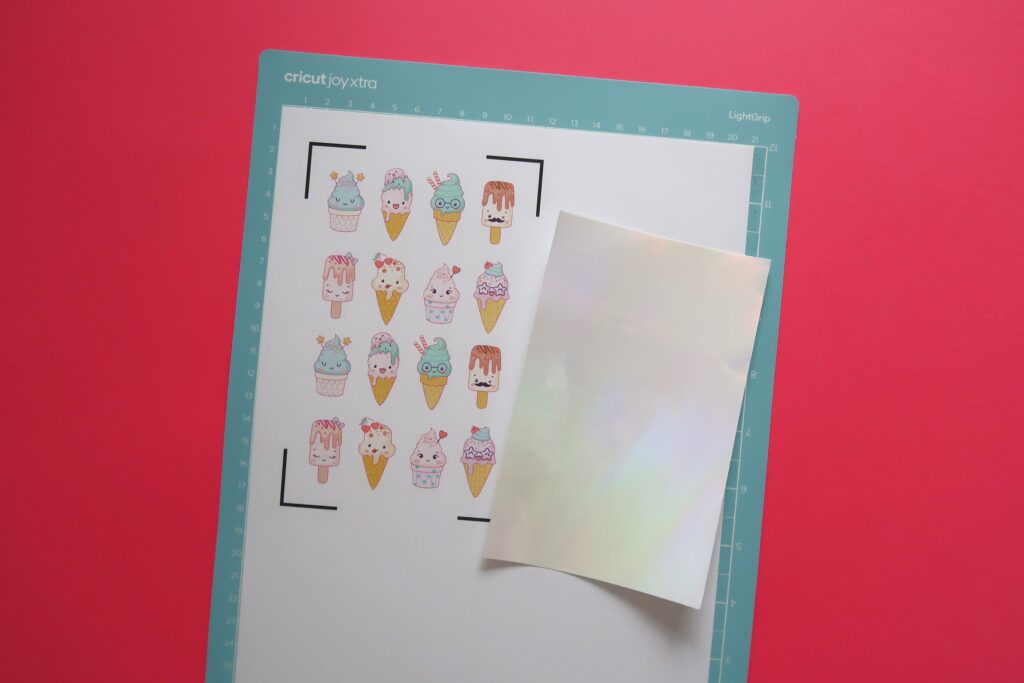
Cut your holographic sticker laminate sheet to the right size for your design.
I like to cut my holographic sticker layer sheet to fit just within the black print then cut border of my design. This is so I don’t waste any supplies and also means that it’s easy for the Cricut to read where it’s registration marks are when cutting (the holographic laminate layer is shiny which can cause issues when the Cricut is trying to line up the cut)
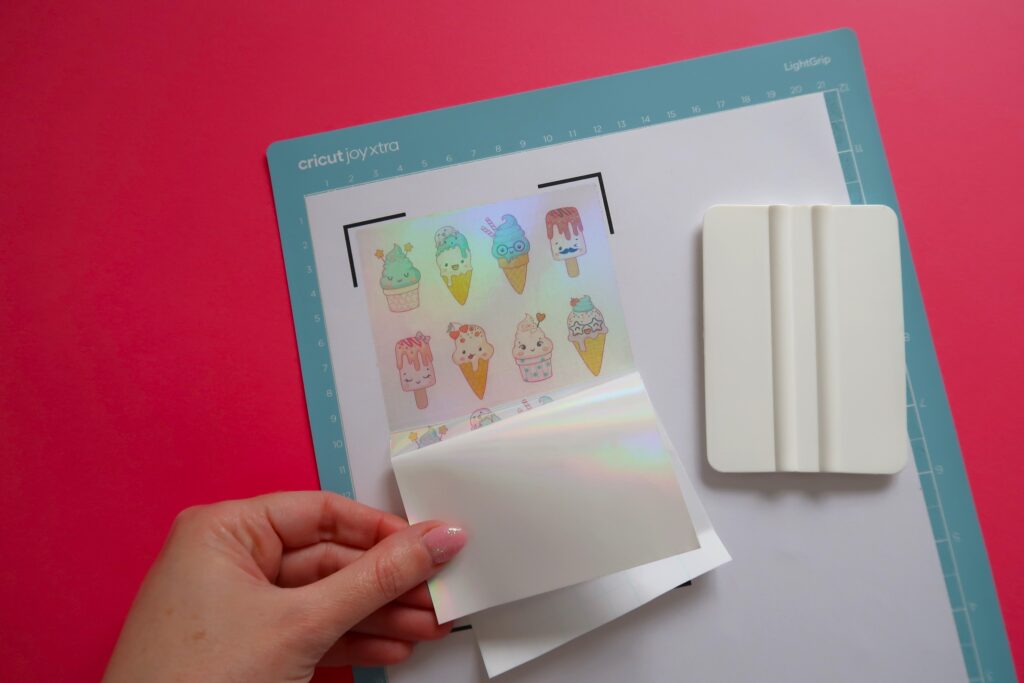
Laminating your design.
Peel the holographic laminate away from its backing paper so that you can line it up with the top of your design. Once it’s in place, carefully and slowly apply the sheet to your sticker paper. Using a squeegee tool can help to make sure you don’t get any air bubbles or bumps in it.
STEP 4 – Cutting Your Design
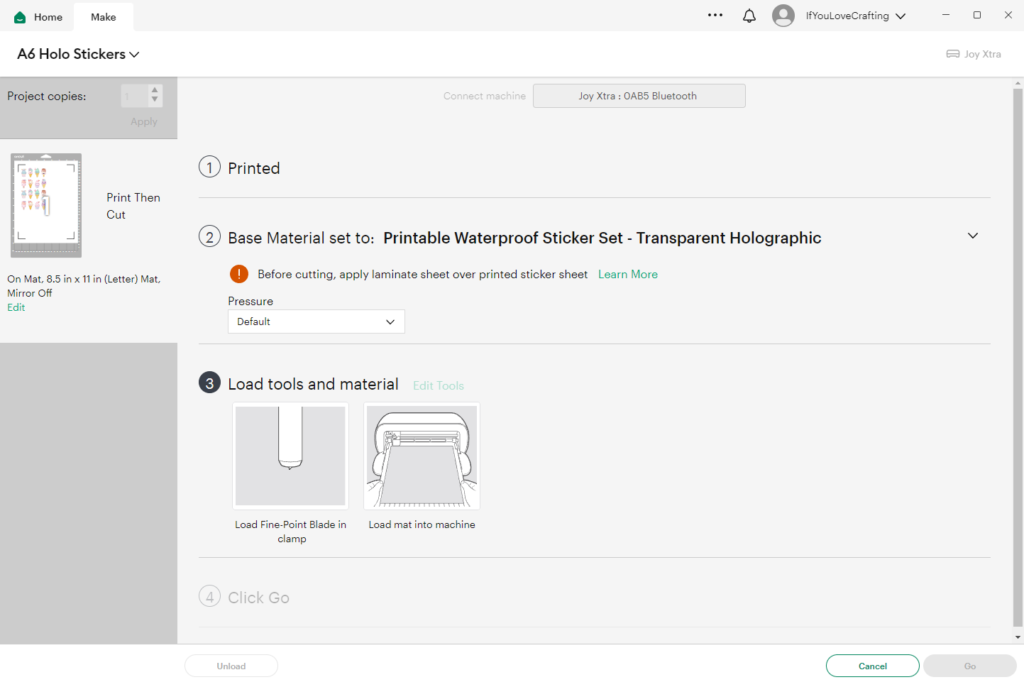
Choose your cut setting.
You can now go back to Design Space and start working through the Cut steps. Firstly, we need to select the right base material. I like to use the setting that Cricut gives for their own brand holographic sticker paper as it has cut perfectly fine every time I’ve used it.

Load your mat and cut your design.
Follow the onscreen prompts to load your mat and click Go to start your cut.
Remove your sticker sheet and trim.
When your cut is complete, unload the mat and carefully remove your sticker. I like to tidy up my designs using a paper trimmer.
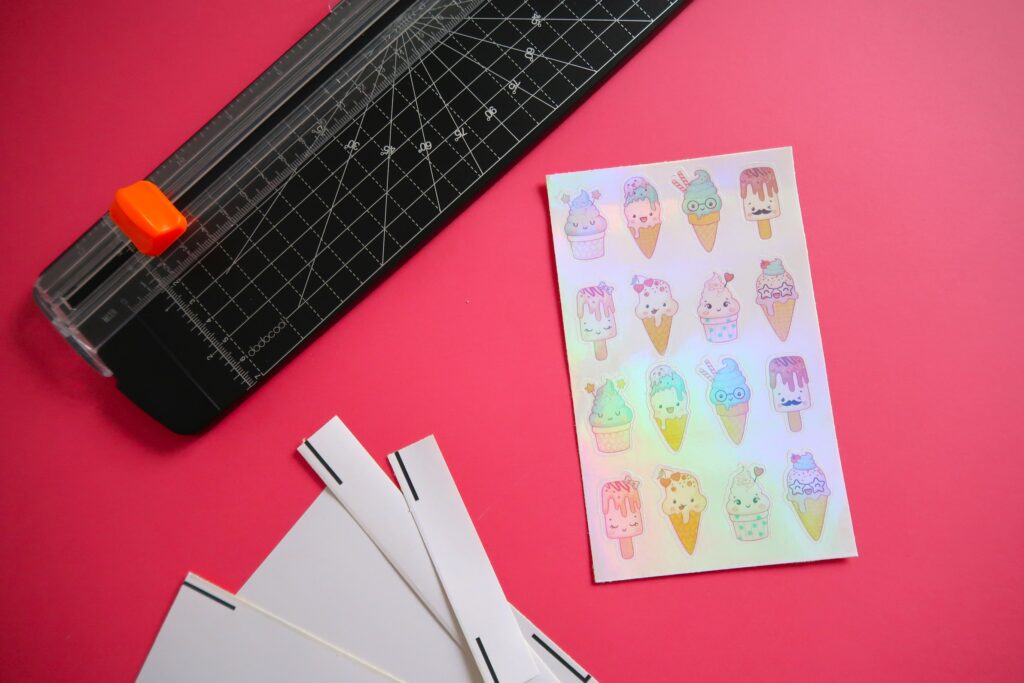
And there you have it – your very own holographic stickers ready to adorn your water bottle, laptop, panner, anything you can think of!
