
Elizabeth Bradley Needlepoint Kit Review
If you love crafting and are interested in picking up a new stitching skill you might want to give needlepoint a go!

The research and work I do for this blog (and for clients) exposes me to so many different crafting styles, techniques, methods and products that I’ve always got a list as long as my arm of projects I want to try out next.
Recently I’ve been on a bit of a deep dive into embroidery and all the different forms it can take, and one of those is Needlepoint.
I was lucky enough to have the team over at Needlepoint.com reach out and see if I wanted to try out one of their needlepoint kits – of course I jumped at the chance! Since I have a love for all things plant and nature based, I choose to test out the Footpath Mini Kit.
Elizabeth Bradley Needlepoint Kit Review
The first thing to say about the kits from Elizabeth Bradley is how beautifully they are presented. They come in a sturdy printed box with a flap open lid that slips over the ribbon handle and is held closed with magnets, this was a very handy feature since it meant I could safely pack my work away and carry it around to where ever I was working for the day.

Included in the kit
- Printed Canvas
- Chart Card and stitch instructions
- Tapestry wool and colour swatch card
- Needles and needle threader
The kits come with everything you need to complete the design, the only thing you’ll need to grab from your sewing box is a pair of scissors. The tapestry wool is all pre-measured and you’ll have more than enough strands to complete the design, I ended up with around 2-3 strands left over in each colour.
Learning Needlepoint
I’m no stranger to needlecrafts, I’ve tried out cross stitch when I was younger and love playing around with different embroidery techniques, but I’ve never worked with the type of stiffened canvas or tapesty wool before. The main thing I was concerned about was how bulky (or potentially tangled!) the back of my work might end up. Thankfully due to the quality of the wool provided in the kit and the recommended stitch technique in the instructions, everything turned out fine.
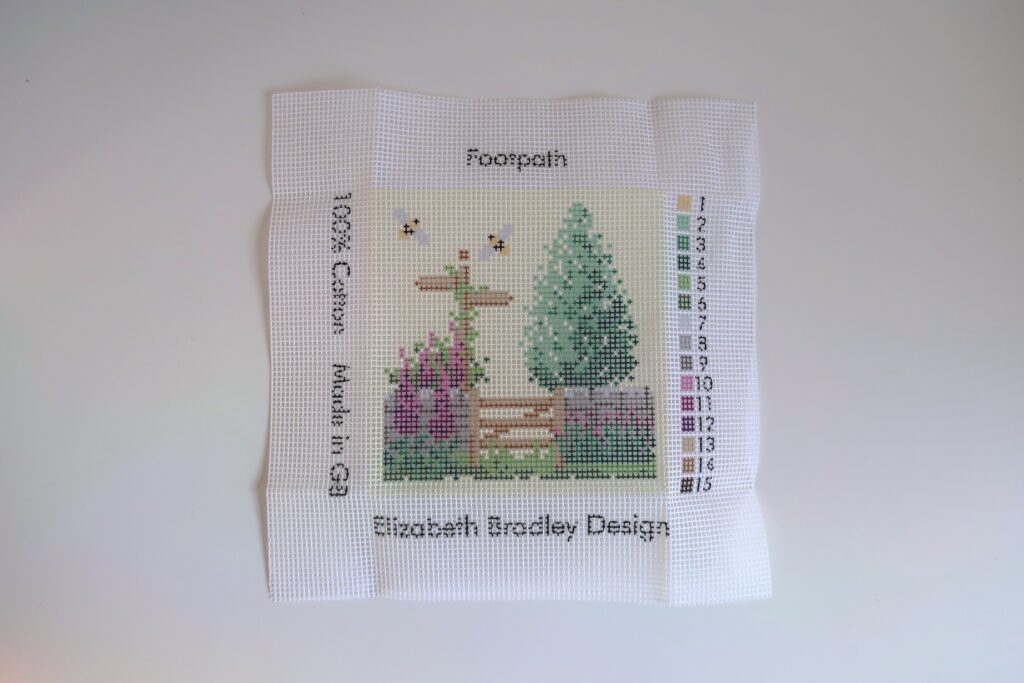
The biggest issue I ended up having was deciding on which colour to start off with. I decided to test out and practise my stitch technique by doing the first few lines of solid background colour at the bottom of the pattern before moving on to the different sections of colour.
I tried out a few different ways of approaching the pattern, I started off going line by line (doing all the stitches in that line in one colour and then going in with the next colour for that line) but that started to get a bit too complicated as I worked further up and got to lines with 4+ colours. I ended up picking one colour of tapestry wool and completing all the sections of the pattern that used that before moving on to the next.
The pattern was really easy to follow, when I first started I was working solely on the pattern that was printed onto the canvas but as some lines started to get a bit more filled in I had to refer to the colour chart. It’s easy to loose your place on the colour chart at times, especially if you’re working on a section like the tree, but I found that placing a bit of washi tape on the colour chart to mark the line I was working on was really helpful.
Finished Result
I really enjoyed working on this needlepoint project, it was a lovely way to wind down in the evenings and it’s given me so many ideas for other projects I’d like to try out.
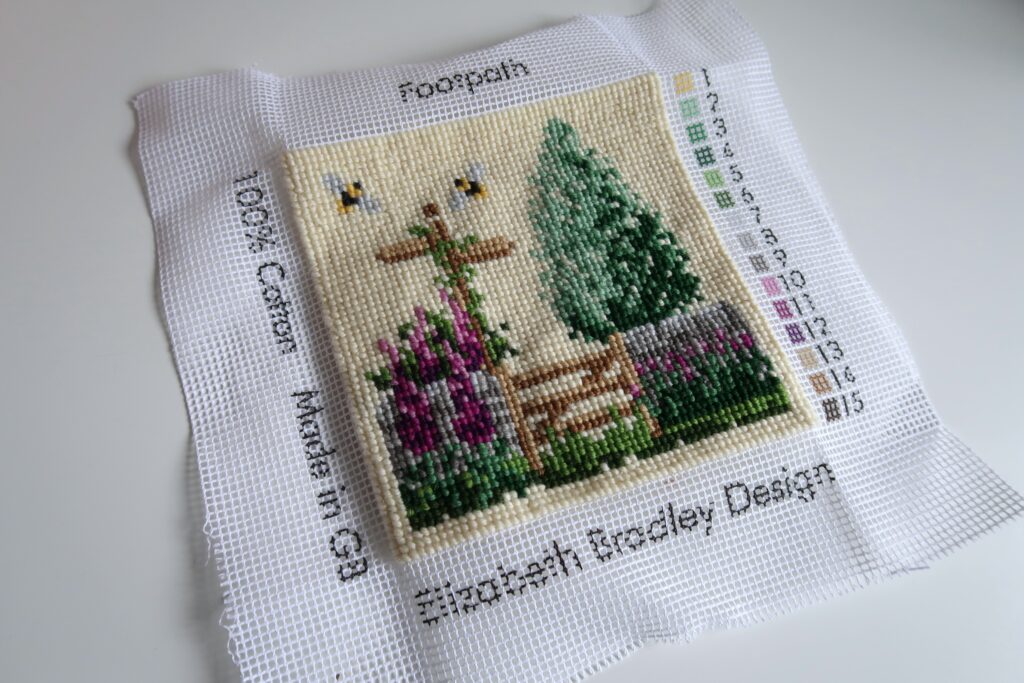
It took me about two weeks to finish in total working in 1-2 hour bursts and it was so satisfying to see the image come to life more and more each time I finished off a colour.
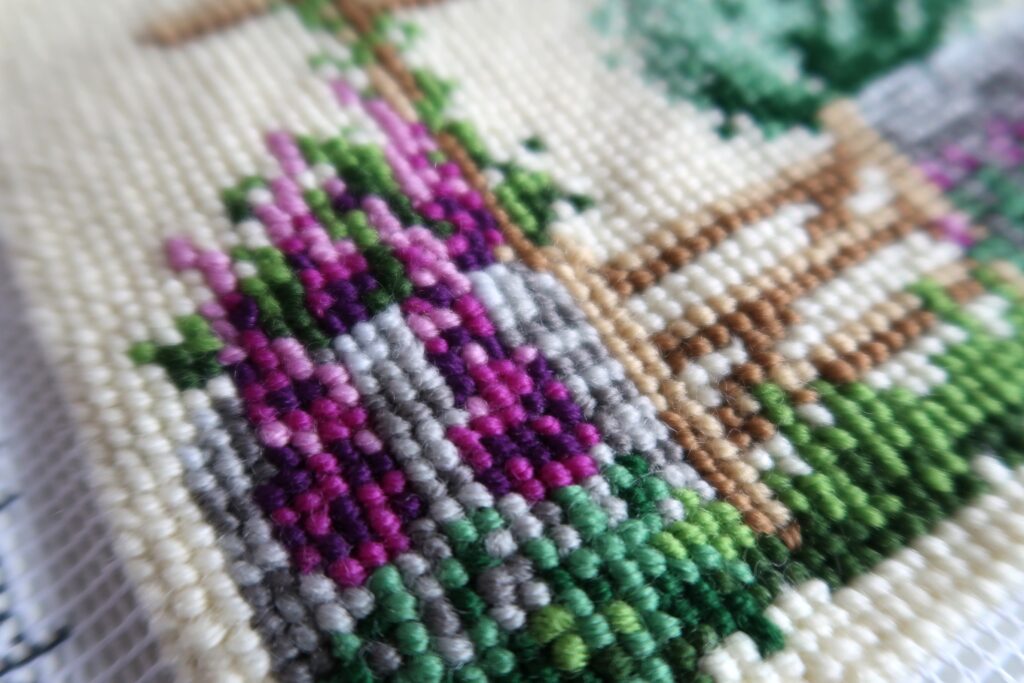
The texture that the tapestry wool made using the Victorian Cross Stitch stitch is so satisfying, it’s hard to explain but the way that it all looks so uniform and neat while still looking tactile really pleases me.

The back of my work probably could have been neater in places. Ideally I should have carried on running my strands of wool across the back of the canvas along a row until I got to the next spot where a stitch was required but I was worried that I might end up tangled if I did. By the time it got to doing the cream coloured background I had found a technique of starting and finishing a strand that worked best for me, and I spent some time after I had finished the kit going through and snipping off any tails that were too long.
Now all that’s left to do it mount and frame the design – I’ll be sure to update the post with steps on how to do that once I’ve found the perfect frame for it!