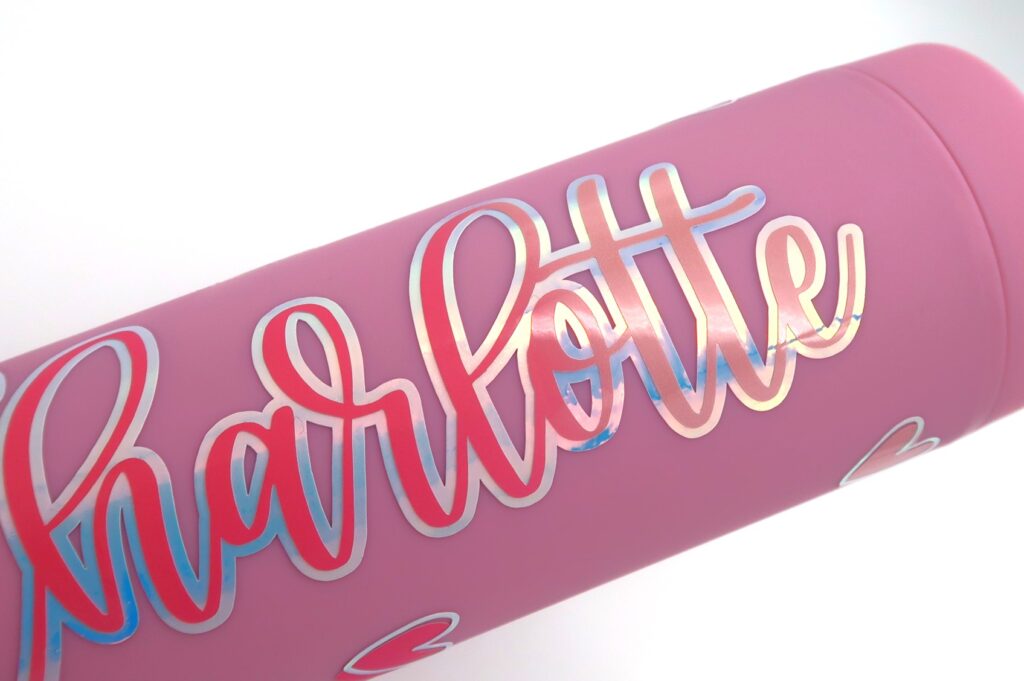
Colour Changing Vinyl Tumbler
If you love crafting with your Cricut you’ll love this colour changing vinyl tumbler DIY!

There is nothing better than being able to sit in the garden on a hot summers day and enjoy an icy cold drink. It’s not something we get to do too often here in the UK, but when the sun does decide to show it’s face and grace us with good weather it can go from being a tad bit chilly to practically tropical in less than 24 hours.
That’s why I’ve spent some time today on this DIY – I’m making sure I’m prepared for any nice weather we might get by having an insulated tumbler to hand that will mean I can keep my choice of summer beverage cool and chilled.
Since I had planned to use this tumbler for extra cold drinks I thought it was the perfect oppourtunity to try out a colour changing vinyl design idea I had. I think the finished result is fab, not only is it nice and unique but it also works as a great indicator to show when I’m running out of drink in my cup and need a refill.
How to make colour changing vinyl tumblers
These colour changing tumblers are an easy DIY to attempt for Cricut crafters of all levels.
Supplies Needed:
- Acrylic Tumbler
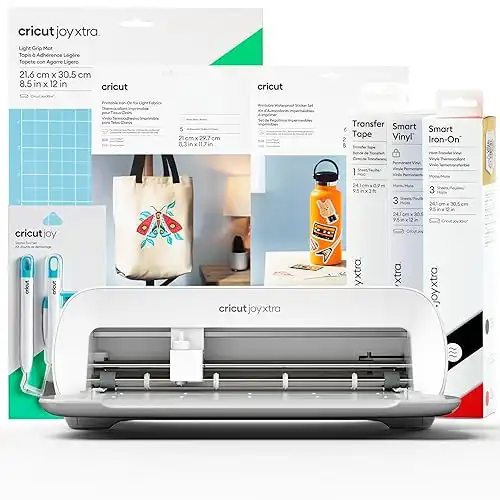
- Cricut Joy Xtra
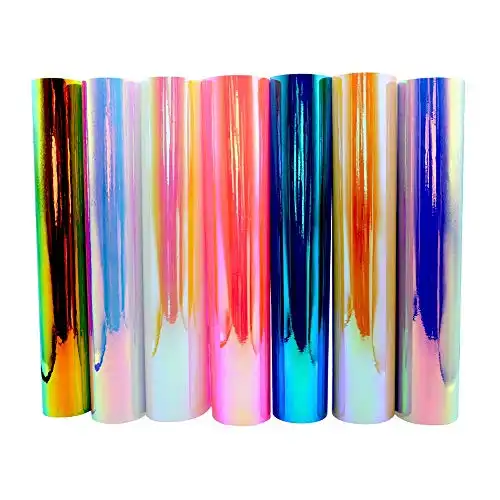
- Holographic Opal Vinyl
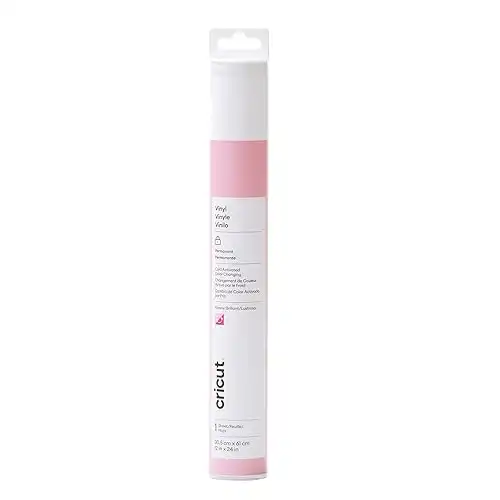
- Cricut Cold Activated Colour Change Vinyl
- Font – Leafs from FontBundles
- SVG File – Cute Hearts Cup Design #M4E2E8427 (Free design on Cricut Access)
|
|
|
|
N/A
|
£59.20
|
|

STEP 1 – Designing Your Tumbler
The first thing to do is to layout the name you want to add to the tumbler on Design Space. Start by opening a new project, adding a text box to your canvas and typing in the name you want.
I wait to select my font until I’ve added some text as it’s easier for me to then see how it will all look. For this project I am using a free script font from FontBundles called Leafs.
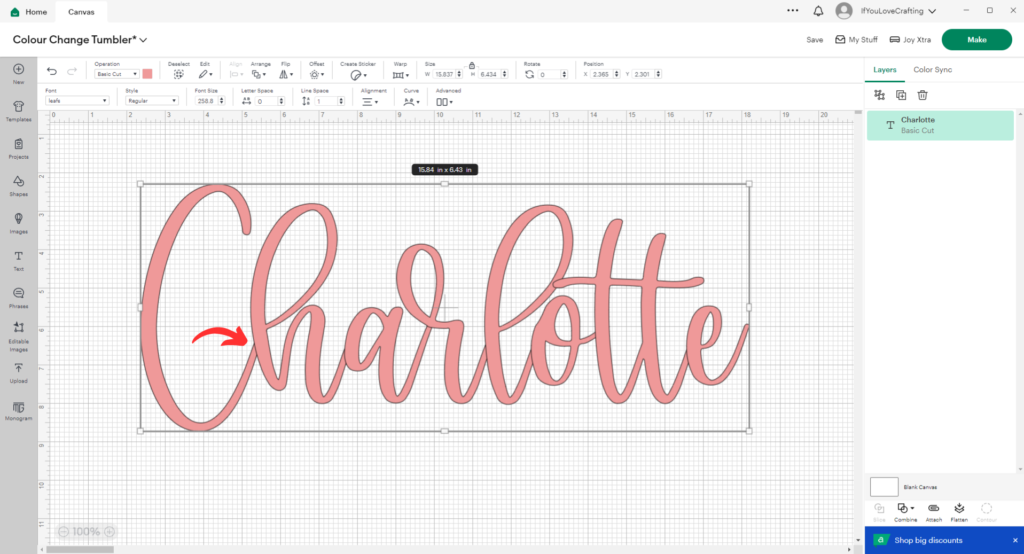
This font is already kerned but it is not arranged to cut all as one word. I’ve made the name extra big and changed it to a lighter colour so you can see what I mean by this.
At the moment, each individual letter has a full solid outline. See how the bottom tail of the C hits the outside line of the h, and so on? If we sent this to cut as is, each letter would be cut individually and look messy.
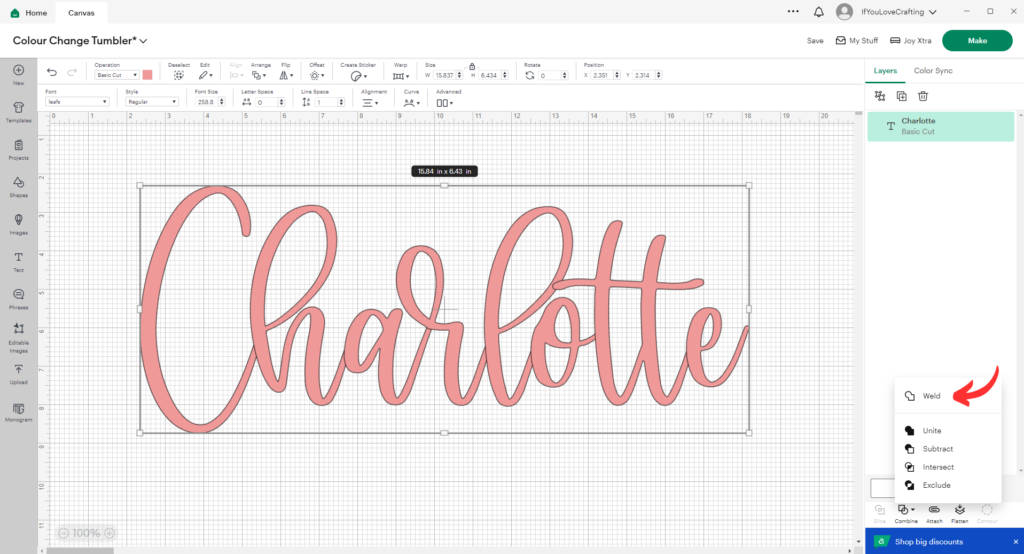
To fix this, we select our text box, click on the Combine option and select Weld.
Once we do this, all of the letters will be welded (or fused) together to make the word a single item/image.
Adding offset
To give this text a bit more impact, I’m adding an offset border around it. Adding an offset to your text designs is a simple change that can really make your projects stand out and look that little bit more polished.
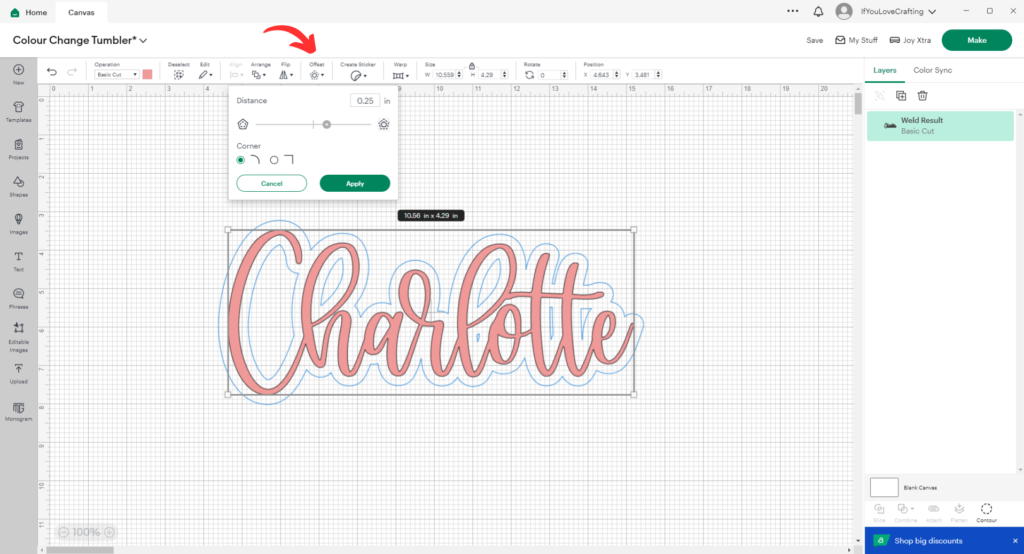
Select the text that you want to add an offset to and then click on the Offset button in the top menu.
This will add a default offset outline of 0.25in. I personally like to have a smaller offset, especially on script or handwriting-style fonts so I have opted to use 0.11in instead.
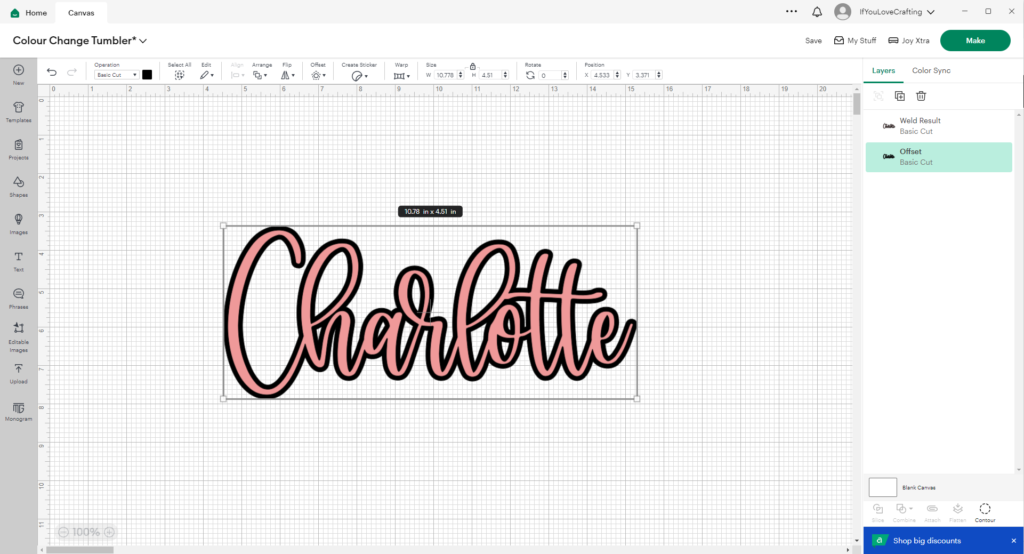
Once you click apply, a second offset layer will be added to your canvas. It defaults to black, but you can change it to whatever colour you like.
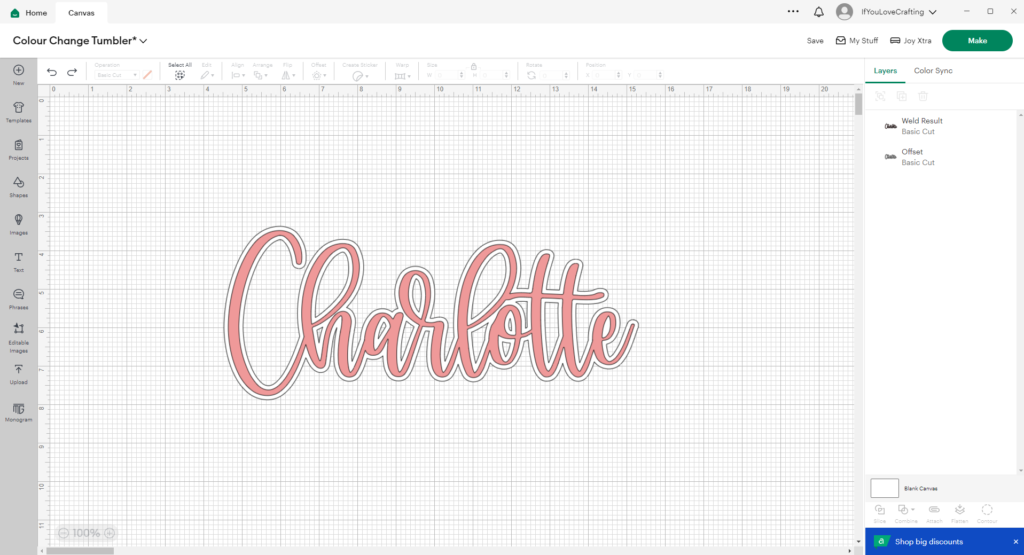
I typically change my offset layers to white or a lighter colour than my main text as it helps me to see the lines of the items on the canvas more clearly.
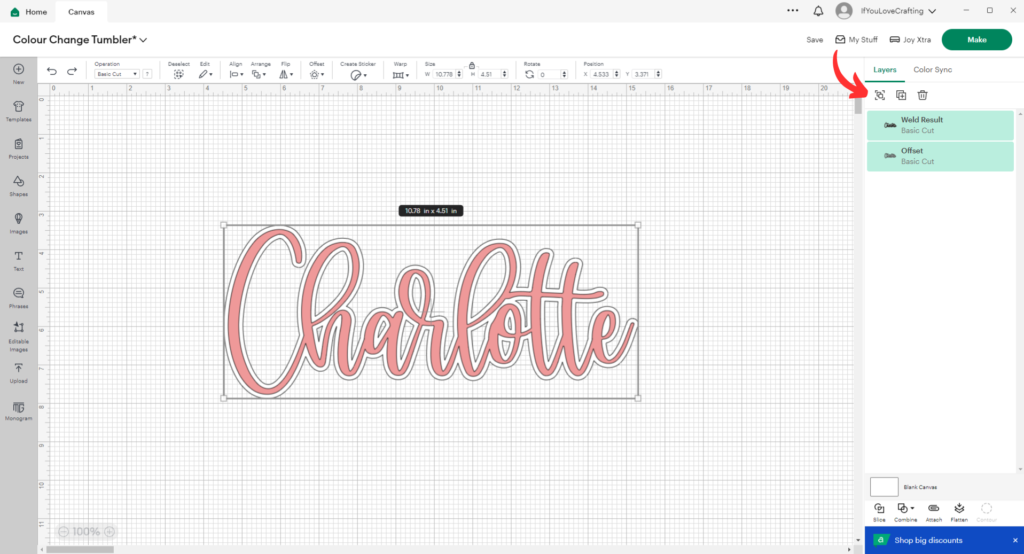
One thing that really helps when working with offset is to remember to Group your layer together. To do this you select both layers in the right hand panel and then click the Group icon that sits just above them. Grouping layers makes it easier to adjust their size later evenly on without distorting them.
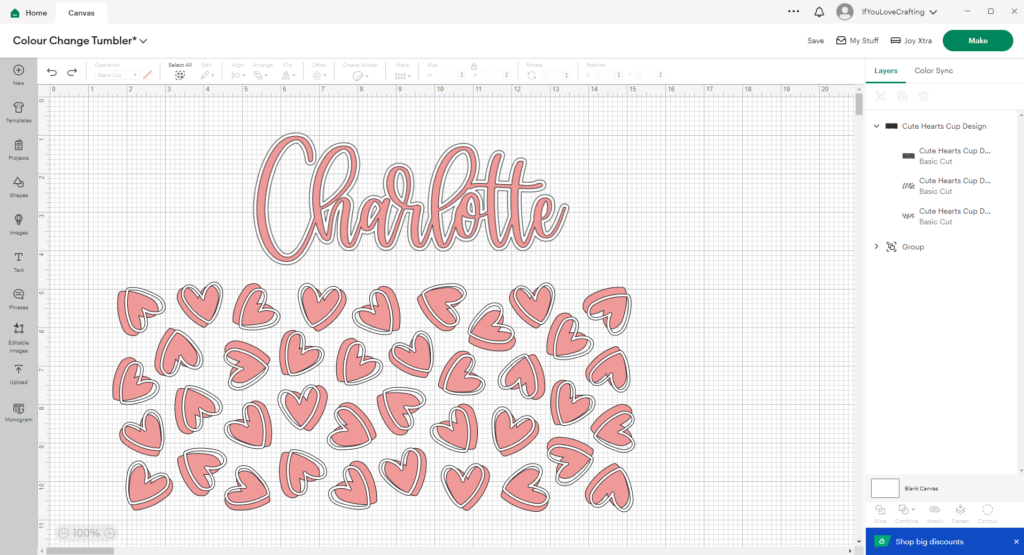
I’m also adding a double layer heart design to my cup. I found the SVG file on the Cricut Image search and have adjusted the colours to match the rest of my project.
Once you’ve got all your layers set to the right colours and resized to fit your tumbler, you’re all good to send it to cut.
STEP 2 – Cutting Your Vinyl
For this project I am using hologrpahic opal vinyl and colour change vinyl, whenever you are using a speciality vinyl like these it’s a good idea to do a test cut to make sure you pick the right preassure settings.
I’m using some off cuts of vinyl for this design so I have placed them on my mat in a way that makes it so the name will cut on the top piece and the hearts images on the bottom peice.

STEP 3 – Weeding and Layering Your Vinyl
Once your layers are cut, carefulyl weed your designs and place transfer tape over them. Whenever I’m working on a double layered design (especially if the project has a curved surface like this tumbler) I much prefer to layer my vinyl on my cutting mat rather than on the project.
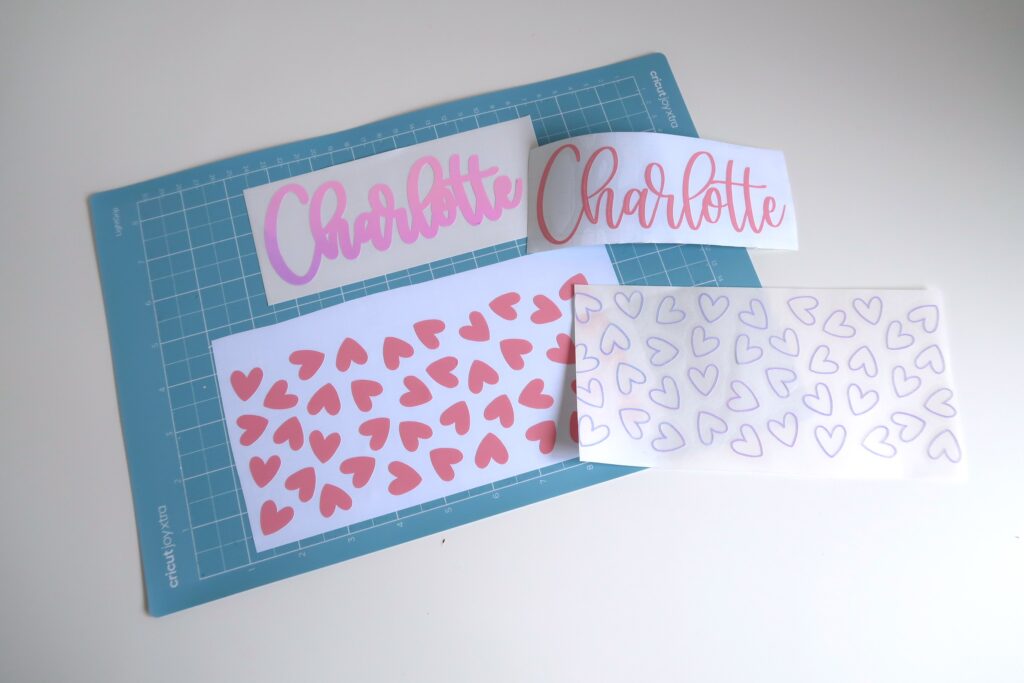
I add a layer of transfer tape over my top layer of the design and use a squeegee or brayer to make sure that it is really gripping on to the vinyl. I then lift that top design off of it’s backing paper and layer it on to the bottom design, once I’m happy with the placement I go over it again with the squeegee or brayer to make sure that the transfer tape is has got a good grip of both layers of vinyl.

STEP 4 – Applying Your Vinyl Decals
Give you tumbler a quick clean down before adding your vinyl. Ideally you should give any tumblers/cups/bottles a good clean out with hot soapy water and leave to fully air dry before trying to add a decal. I like to also give mine a quick wipe down with isopropyl spray and kitchen roll just to make sure that the surface is fully clean.
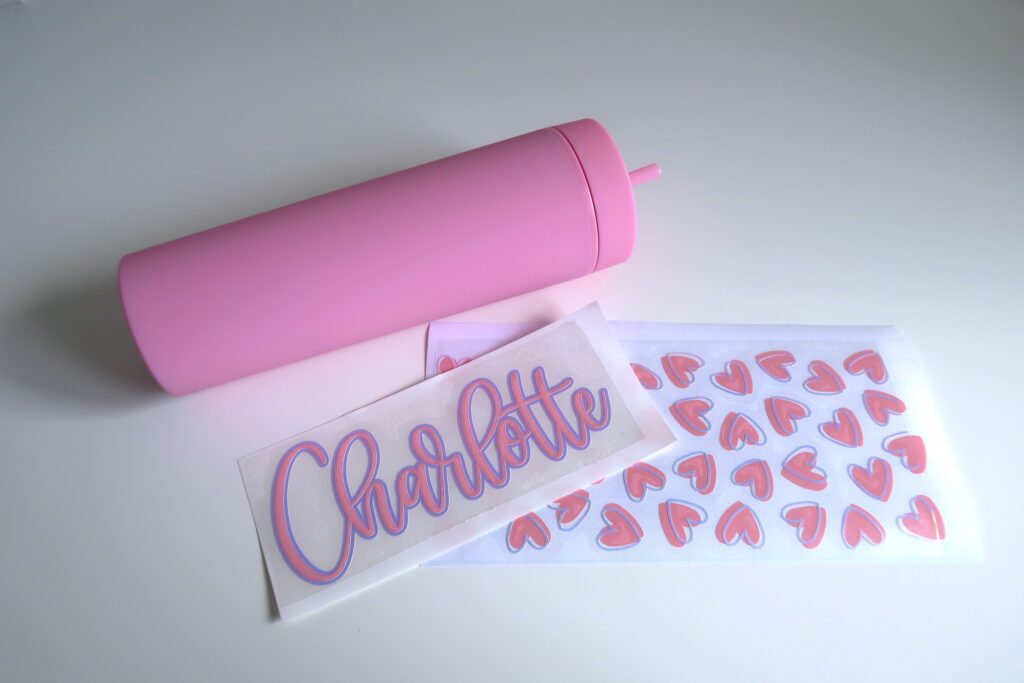
Add your name decal to the tumbler first, make sure you are happy wth the placement and then make sure it is free of any air bubbles or wrinkles.
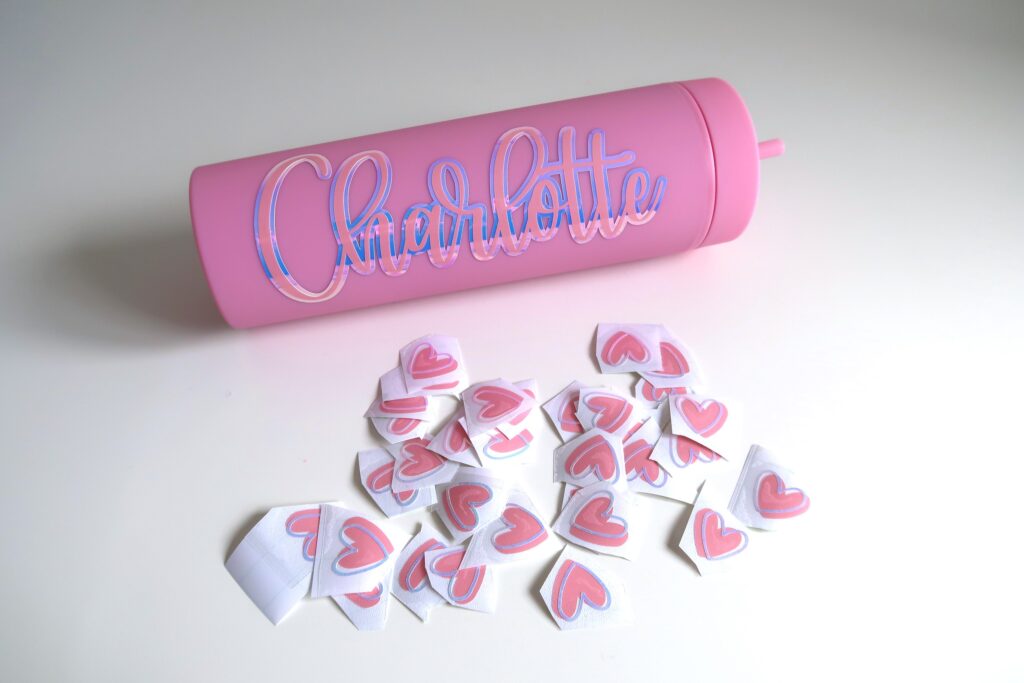
Then you can add the rest of your design to the tumbler. If you are using designs with thin lined layers like these heart outlines, take your time to really make sure the vinyl has adhered to the tumbler and be carefull when removing the transfer tape to avoid pulling it up and distorting the shape.
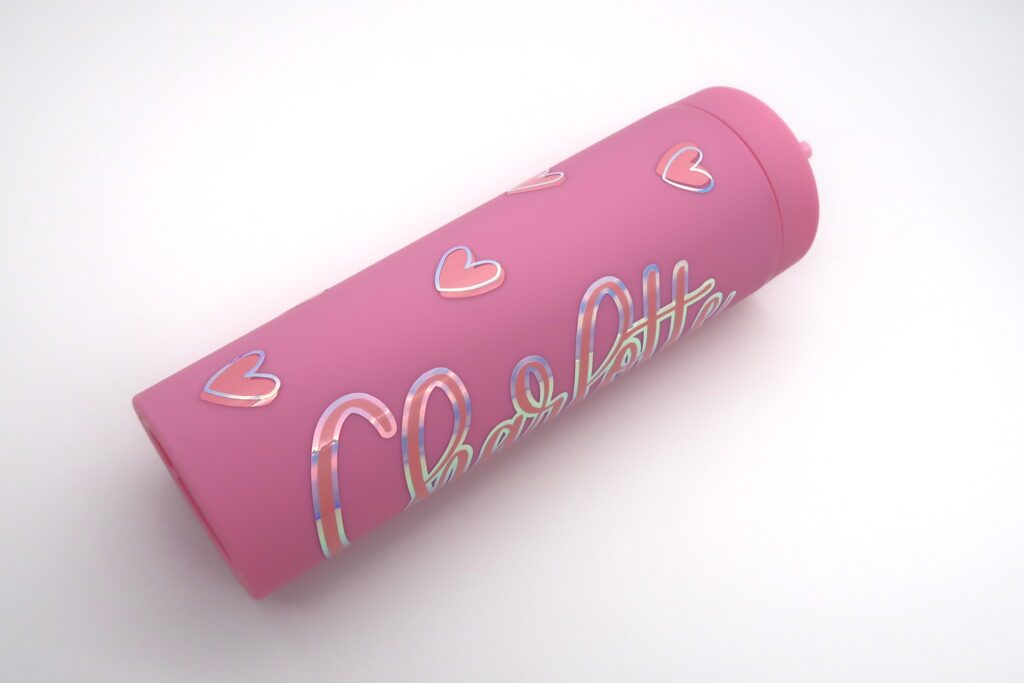
DIY Colour Change Vinyl Tumbler
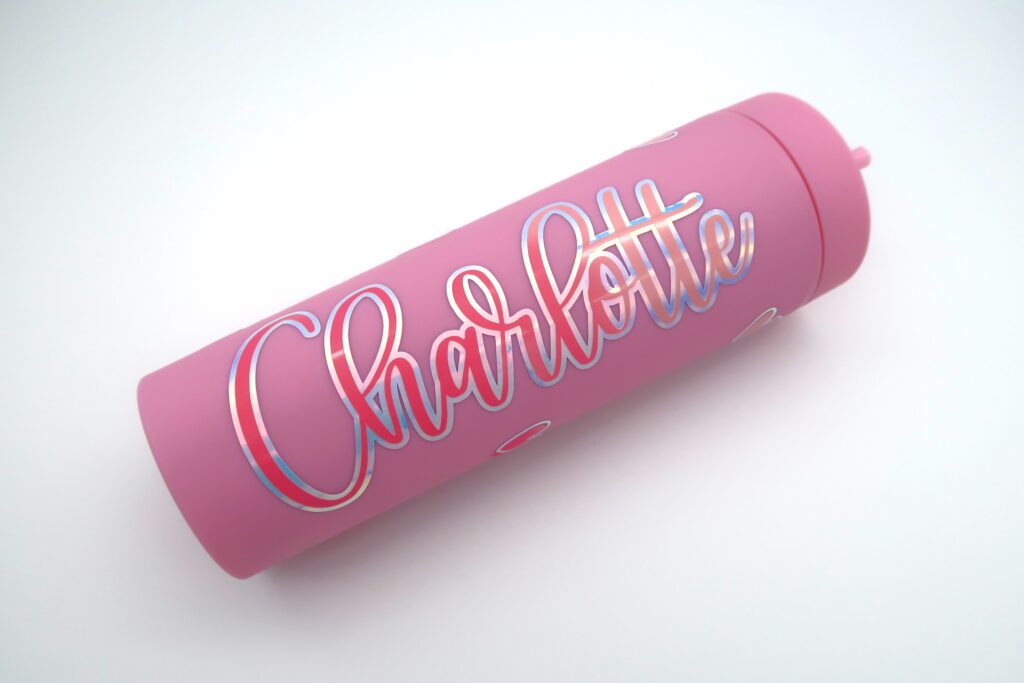
And here’s the finished product! I love the colour change from light pink to dark pink against the opalescent vinlyl and matte pink tumbler, I don’t usually go for single colour palette designs but I think it works really well in this instance.
The insulated double wall tumblers from Bang On Blanks are really good quality and kept my drink cold for much longer than I expected. They have a lovely range of summery pastel colours in this style of tumbler that would look amazing with a similar offset holographic design.
Colour change vinyl FAQ’s
Does colour change vinyl still work when layered?
Yes! I’ve found colour change vinyl to work fine even when layered over regular vinyl. It can sometimes affect how quickly the colour change happens (depending on how hot or cold the surface is) but I actually quite like that as it adds an extra range of colour tones to your project if you have added a mix of single and multi-layer decals.