
How to print embroidery patterns onto fabric with an inkjet printer
If you love crafting, you’ll love this easy technique for transferring embroidery patterns onto fabric.

Learning how to print embroidery patterns onto fabric is an absolute game changer. You can turn any drawing, doodle or picture into a hand-stitched project – the design possibilities are endless!
I’ve fallen back in love with embroidery in a big way these past few months. I’ve been looking for craft projects that I can work on in the evenings that aren’t too taxing on my brain and don’t involve dragging out a ton of supplies – getting stuck back into some hand embroidery has ticked all those boxes!
The only slight hiccup I had with jumping back into hand embroidery was finding a design to work on that really grabbed my attention. I have tested out some hoop embroidery kits in the past and did consider trying one again but the market is so flooded with fake AI products and designs at the moment, I just couldn’t find a legit one that took my fancy. So I decided to make some of my own instead!
I’m not the greatest at drawing so if I’m looking for designs or patterns to play around with I look for assets on sites such as Design Bundles and then use Canva to edit them to suit my project.
Transferring embroidery designs onto fabric
There are a whole host of ways you can transfer embroidery patterns onto fabric but one of my favourites is using my trusty old home printer.
It gives you a printed image on your fabric just like the ones you’ll find in printed embroidery hoop kits you can buy online but for a fraction of the price.
I have seen this technique for printing onto fabric with an inkjet printer done with freezer paper instead but I find using label or sticker paper a much quicker and more cost-effective way to do things.
Supplies Needed
- Inkjet printer
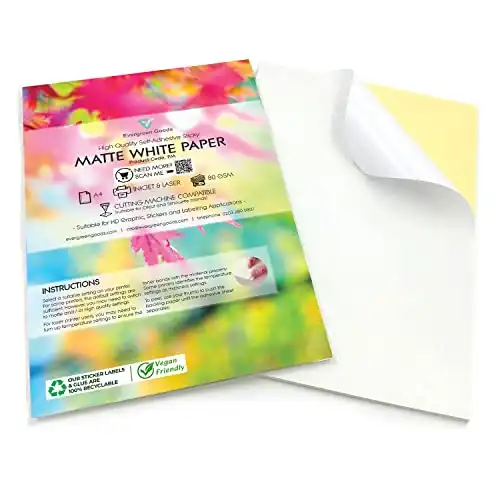
- Sticker paper
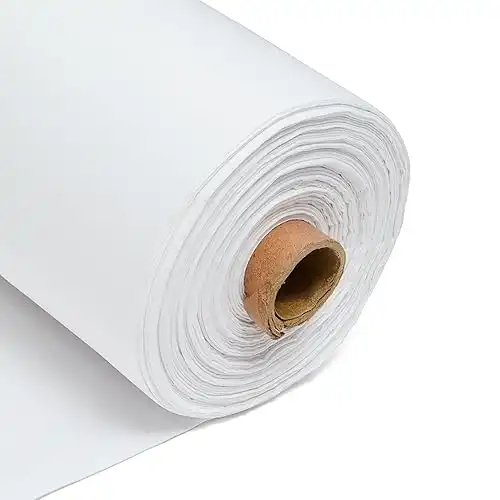
- Fabric
- Scissors or rotary cutter

|
|
|

|
|
|
£7.29
|
£6,291,258,100.00
|
|

How to print embroidery patterns onto fabric using an inkjet printer
STEP 1 – Apply the sticker paper and cut your fabric
The first thing we need to do is cut our fabric to size. Lay your fabric out flat on your work space (give your fabric a quick press if it has any folds or wrinkles in it), carefully peel the backing off of your sticker paper and attach it to your fabric.
Cut around the edge of sticker paper as closely as you can, you’ve now got an A4 sheet of printer ready fabric.

STEP 2 – Check the print settings on your design
Before hitting ‘print’ it’s important to check the settings on your PDF design. If you’re using a bought pattern make sure you are only printing the design page, have it set to print ‘actual size’ or turn off the scaling option.
If you’ve created your own embroidery pattern make sure you have reduced the opacity on the image (or have switched out any dark colours for a lighter version) before downloading it as a PDF.
STEP 3 – Print your design
Your sticker-backed fabric is now ready to go through your printer. Put your fabric sheet into the printer feed tray (fabric side up) the same way you would do to print on a normal sheet of paper and hit print.

STEP 4 – Remove the sticker backing
Give your freshly printed fabric a minute for the ink to completely dry and then remove the peel the sticker paper off of the back. That’s all there is to it, you can set your fabric in an embroidery hoop and get stitching!
